Nostalgic Milk Bread
Hey everyone, it is Drew, welcome to my recipe site. Today, we're going to make a distinctive dish, Nostalgic Milk Bread. One of my favorites. For mine, I'm gonna make it a bit tasty. This is gonna smell and look delicious.
Nostalgic Milk Bread is one of the most well liked of recent trending foods on earth. It is easy, it is quick, it tastes yummy. It is appreciated by millions every day. Nostalgic Milk Bread is something which I have loved my entire life. They're nice and they look fantastic.
Many things affect the quality of taste from Nostalgic Milk Bread, starting from the type of ingredients, then the selection of fresh ingredients, the ability to cut dishes to how to make and serve them. Don't worry if you want to prepare Nostalgic Milk Bread delicious at home, because if you already know the trick then this dish can be used as an extraordinary special treat.
To begin with this particular recipe, we must first prepare a few ingredients. You can cook Nostalgic Milk Bread using 9 ingredients and 10 steps. Here is how you can achieve that.
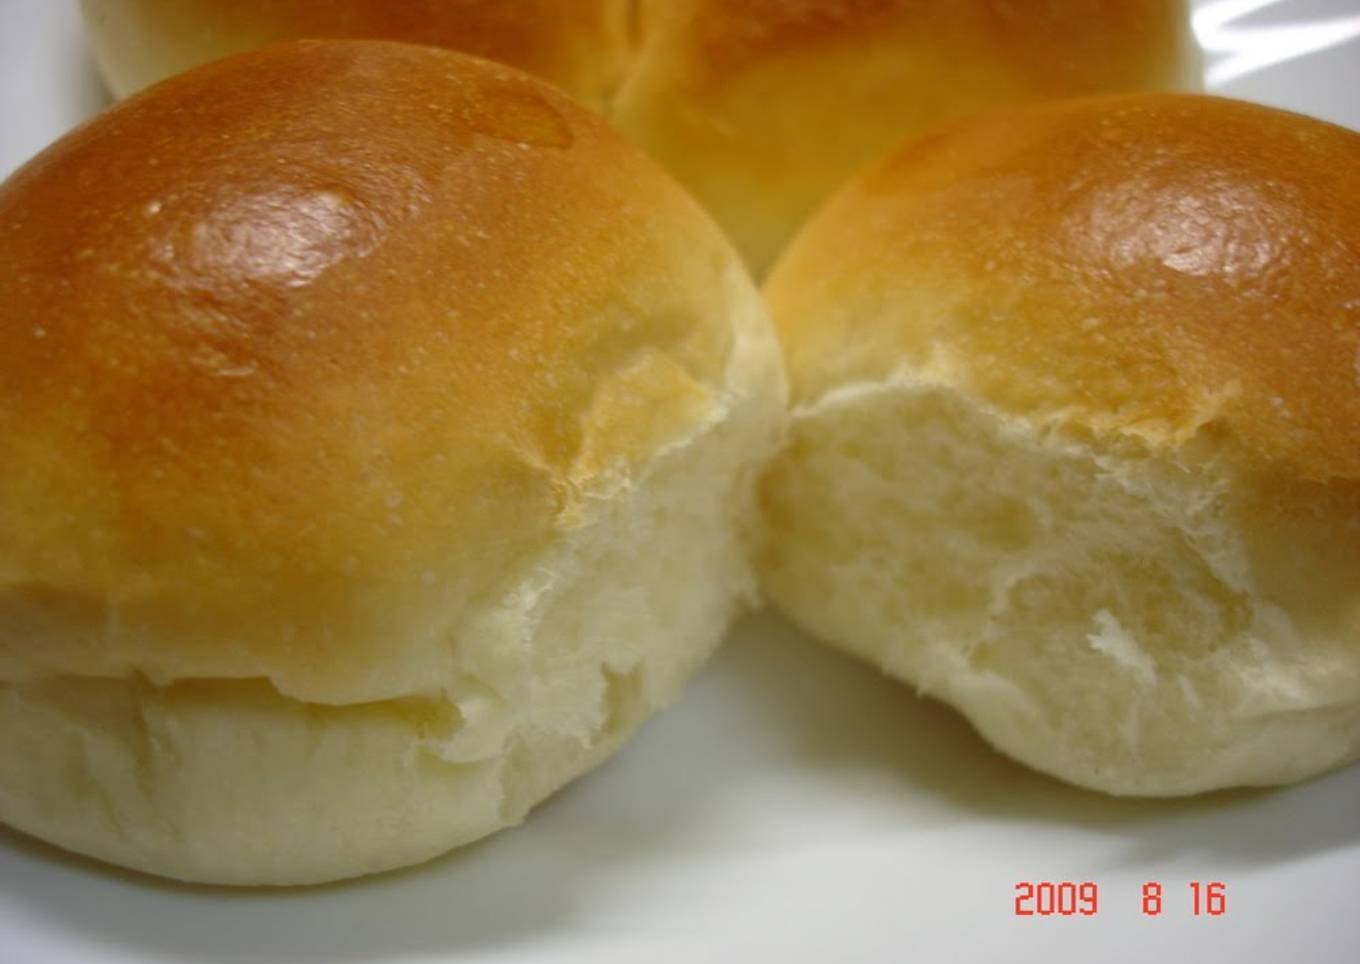
I wanted to eat a really milky-milk bread so I tried making it.
Bread with a relatively high amount of sugar browns easily, so bake at 180°C while keeping an eye on it. Leave plenty of space between rolls when rising and baking, or try placing them diagonally. Recipe by Nachuriru
Ingredients and spices that need to be Make ready to make Nostalgic Milk Bread:
- 170 grams ○Bread (strong) flour
- 30 grams ○Cake flour
- 5 grams ○Skim milk
- 25 grams ○Sugar
- 2 grams Salt
- 20 grams Margarine
- 140 grams Milk
- 10 grams Condensed milk
- 3 grams ○Dry yeast
Steps to make to make Nostalgic Milk Bread
- Put all the dry ○ ingredients, except salt, in a bowl.

- Combine the milk and condensed milk, and warm to 35°C in the microwave. If you can't measure the temperature, heat until it is warm to the touch.

- Add the liquid from Step 2 to the bowl from Step 1, aiming at the yeast. Mix well. When the dough comes together, move to a work surface and start kneading.

- After kneading for 3 minutes, add the salt. Knead for 2 minutes more, then add the margarine and keep kneading.

- Leave to rise at 30°C for an hour (1st rising). Punch the dough dough lightly, round it off again and leave to rest for 30 minutes. Divide and form the dough. The 2nd rising should be done at 35 °C for 40 minutes.

- For detailed instructions, see "Best Hand-Kneaded Fluffy Rolls" -.
- I wanted to make them pull-apart style like I remember, so after forming each roll, I tried sticking them together.

- After the 2nd rising, preheat the oven to 180°C. Brush the tops with milk in the meantime. Bake for 12 to 15 minutes, and the bread is done.

- It's a fluffy, light, tender, and delicate bread. When taking them out of the oven, use a spatula.

- Attention! If you use chopsticks or tongs to take the rolls out, they'll get smushed!
As your experience and self-confidence grows, you will discover that you have more all-natural control over your diet regimen and adjust your diet to your individual preferences in time. Whether you intend to offer a dish that makes use of fewer or even more components or is a little bit basically zesty, you can make straightforward changes to attain this goal. To put it simply, begin making your recipes on time. As for basic food preparation abilities for novices you don't need to learn them yet just if you understand some simple cooking methods.
This isn't a full overview to fast and also easy lunch recipes but its excellent something to chew on. Ideally this will obtain your imaginative juices streaming so you can prepare tasty dishes for your household without doing a lot of square meals on your journey.
So that is going to wrap it up for this exceptional food Recipe of Award-winning Nostalgic Milk Bread. Thank you very much for your time. I'm confident that you will make this at home. There's gonna be more interesting food at home recipes coming up. Remember to save this page in your browser, and share it to your family, colleague and friends. Thank you for reading. Go on get cooking!


Comments
Post a Comment